
it has been one of those days. You know what I mean - one of those days when nothing goes your way. In the morning I decided that I would work on another post instead of making cookies with khaki fruit (I will tell you all about this another time). 2 hours later I had achieved absolutely nothing. My review of a night cream I recently received as a birthday gift was simply not going anywhere. A cup of coffee and light lunch later I all of sudden remembered I had bought some fresh yeast a couple of days ago which had to be either used or thrown away. I am against waste so I thought I would make a Bulgarian cheesy bread. I used to love it as a child. I admit is full of calories but boy does it taste good! It is a doughy savoury dish which can be eaten as a breakfast or at snack times. It was very popular last time I made it (about an year ago) so it seemed like a good time to make it again. My usual recipe bothered me somewhat - I kept reading it over and over again and something just did not feel right. So I googled more recipes of a similar nature and found one from a popular Bulgarian food and recipe site. And this turned out to be one of my baking disasters in ages! (Keep reading, you know you want to find out what went wrong!)
Ingredients: (you can find the original recipe here)
25gr fresh yeast
500 gr strong flour
10 gr sugar
50ml lukewarm water
3 eggs
1 egg, separated
1tsp salt
125gr melted butter
60-80 gr oil
200-250 gr of natural yoghurt
250gr Bulgarian white cheese/ Greek salad cheese
Put the yeast, sugar, water and 25gr of the flour into a bowl. Stir well until it turns into a paste. Cover and leave for at least 15-20 minutes. You know when the mix is ready when it is all bubbly and has at least doubled in size. Whilst waiting sieve the rest of the flour with the salt and make a hole in the middle.

Add the yoghurt and 1 of the eggs.


You need to end up with a nice, silky looking dough, quite stretchy and smooth. I used my Kmix on speed 2-3 for about 10 minutes. I finished it by hand to get a feel for it - it needed another minute or two. Divide into 3 balls, oil them and let them raise until doubled in size (because they are quite small it should only take about 60-75 minutes). I decided to speed up the process by turning the oven to 50C. I put the dough inside the oven and turned it off. It had doubled in size in about 40 minutes. In the meantime melt the butter and add the oil to it. In another bowl whisk the 2 eggs and 1 egg white with a fork and add the cheese to it, crumbled finely.


Cover with the third sheet of dough. And this is when things started to become extremely tricky. Now you have to roll it into a tight roll. I went for it and.... DISASTER struck BIG time. As I was rolling it, it started to break. Cheese and butter mixtures were pouring out from all sides..... My whole counter was covered in this gooey mess. I had a tear in the corner of my eye. I couldn't even take a picture, my hands were covered up to my wrists! It would have been just so easy to bin everything and pretend it never happened. But I was going to be strong! I was NOT going to cry because a bake has gone terribly wrong. I was going to figure out of saving it. And I did.
I cut it into 8 chunks, just like I was supposed two. Because it was all falling apart instead of using 1 tin I used 2 (big deal).
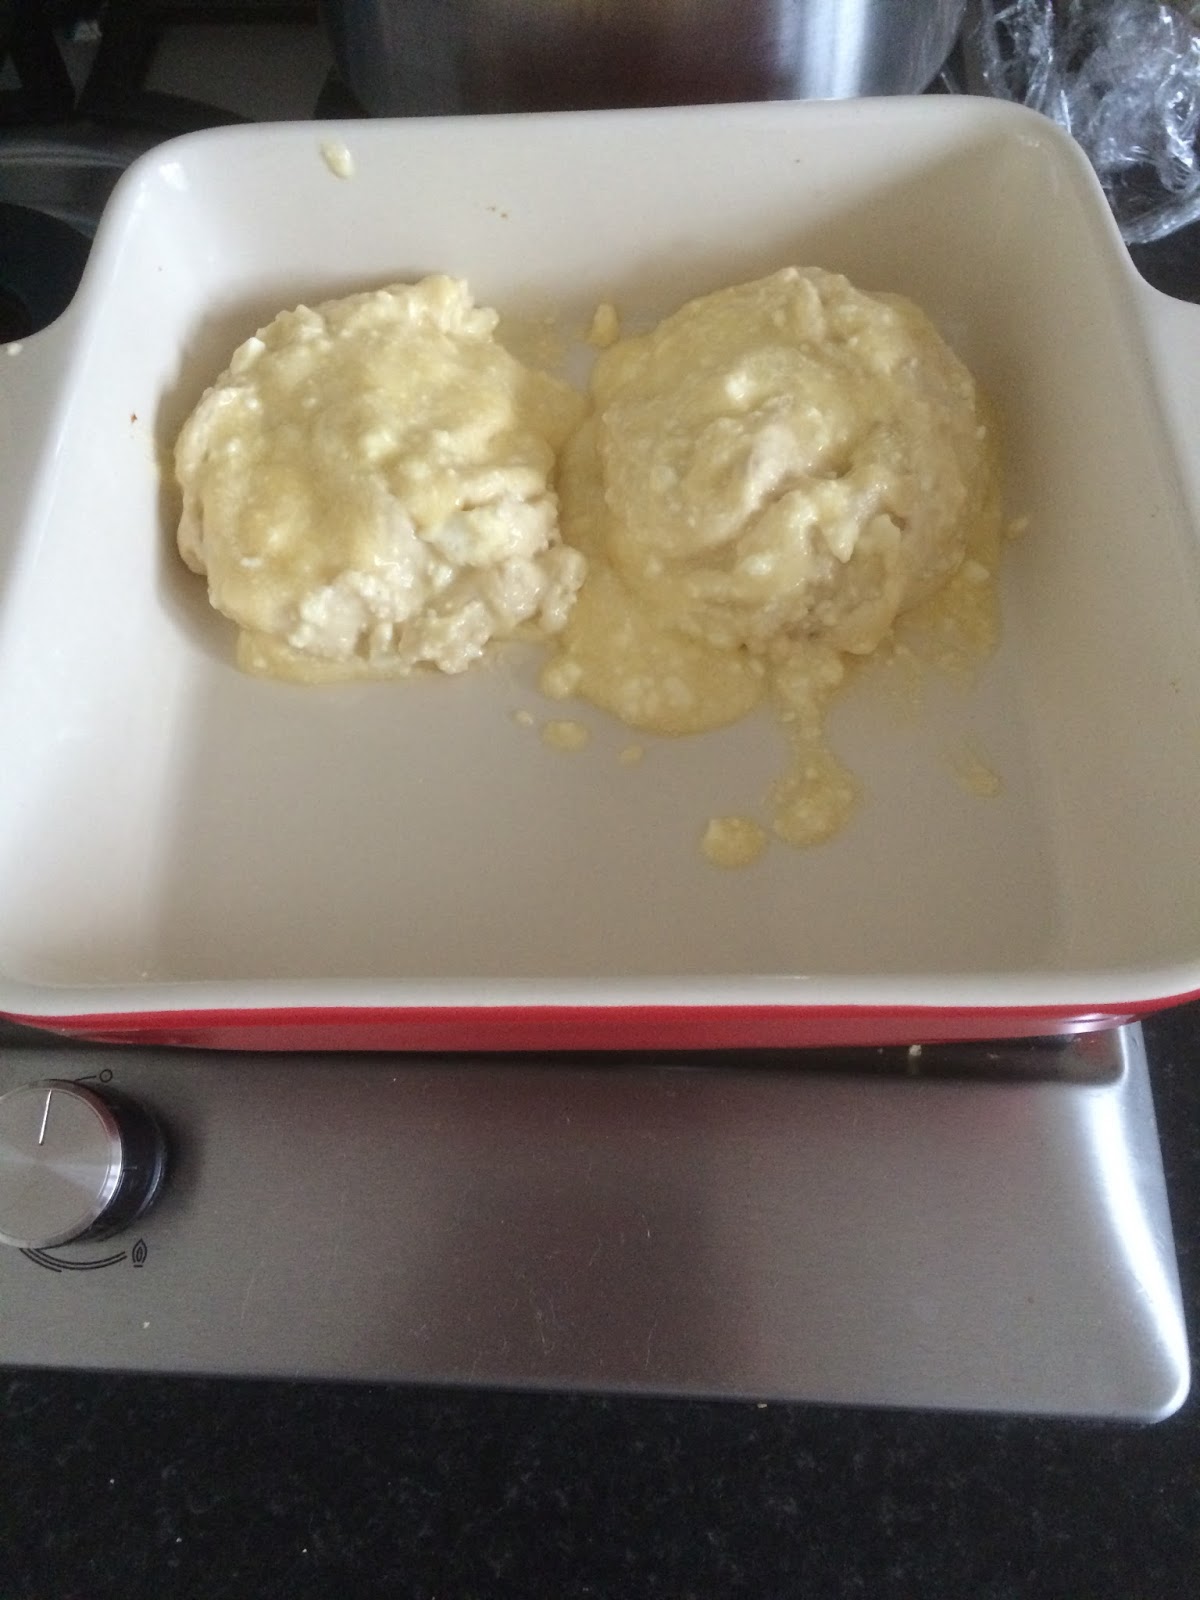


Coming home after school pick up I think the bread had over proven a little bit

so I put it in the oven as quickly as I could. It needs to go in a hot oven (200C) for about 30-35 minutes. While I was waiting for the oven to heat I mixed the egg yolk with a tiny amount of water and brushed it all over the dough. You may need to cover it half way to prevent it getting too crispy on top.

Mine did not raise anymore which I was a bit disappointed by but then again it was as expected. Yes, it was over proven slightly and the texture really showed it.

I am glad I baked it - the kids are now eating it and asking for more!
Will I make it again? Definitely. How will I roll it next time? That's something I need to figure out beforehand.
Do you think I overreacted? Perhaps you have a tip on rolling a dough with gooey fillings? Or just let me know about your disasters in the kitchen. I'd love to read your comments.
XoXo
Desi in the Kitchen


No comments:
Post a Comment